

Good evening and welcome back to the Bespoke Refinement Podcast. I am your host, Thomas Thill. I am the founder, owner, and operator of Bespoke Automotive Refinement.
We are the number one Kansas City car detailing service. We are a mobile service that comes to you and we do everything from basic washes, monthly subscription maintenance details, all the way to full interior recondition detailing, as well as paint correction and ceramic coating.
Guys, today we’re going to be talking about something that a lot of people have asked me about in the past, which is, can you repair paint on a car that has been improperly painted? It’s something that I’ve been wanting to talk about, but today in particular, I found myself in a situation with a Ferrari, actually, that I’m working on right now.
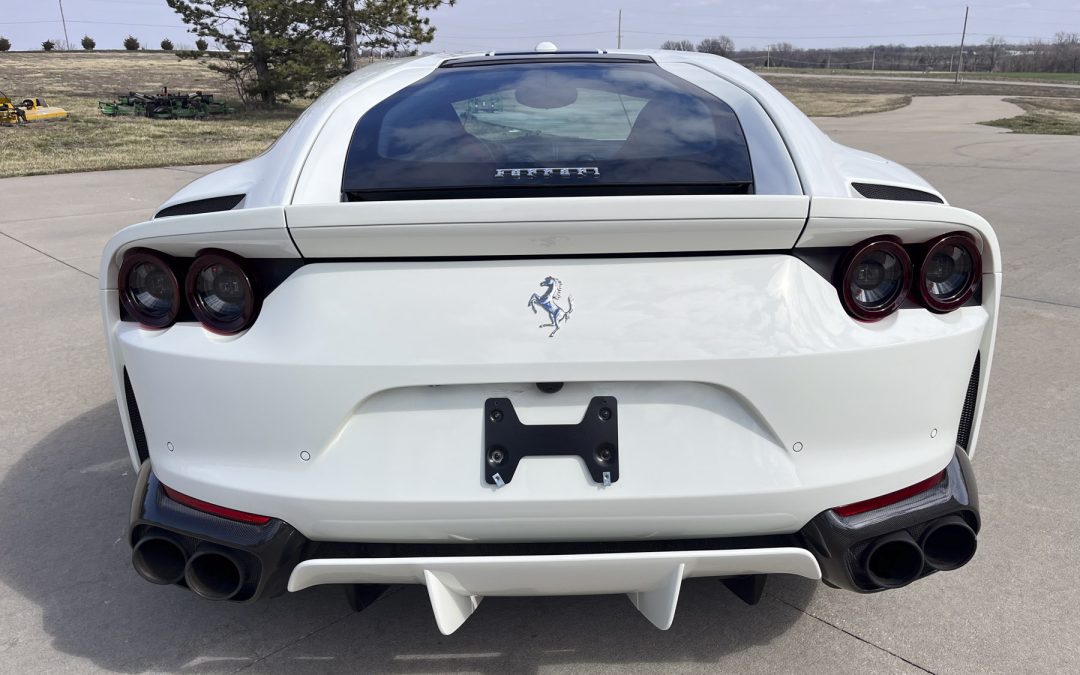
A rather new one that looks like it’s had some paint work done on it in the past and just thought it would make a really good topic to talk about today with our Kansas City car detailing podcast. So, the car in question, it was a Ferrari SF90. Beautiful car.
It’s finished in a beautiful pearl white, red accents, black wheels, black top, and red stripes. It’s a beautiful car. However, as I began paint correcting this car, on the lower half of the car, I would say the inch, an inch above the body line, there are what appear to be, at first you look at it, you think it’s spray paint because that’s essentially what it looks like.
It looks like the lower half of this car, someone just spray painted it, and it feels very rough. It feels very oxidized. It has no metallic flake in it.
It basically looks like someone just took a rattle can, shook it up, and spray painted the lower half of the car. After doing some serious wet sanding and correction in one particular area of the car, I was able to confirm that this paint was actually a very high quality paint job. They just failed to do the finishing work on this paint finish.
So, after doing some serious, serious wet sanding and some serious polishing, I was able to fix one of the spots and confirmed that I can fix the entire car. Now, what causes this? So, a lot of people think that when you have a car repainted, they strip the paint off, they do a base coat, then they do the main coat, and then they do a layer of base clear coat, and then your car is all ready to go, ready to be driven, waxed, and you’re out the door. The reality is there is still a lot of finishing work that’s required after the car is painted, and in this particular instance, this car very clearly appears to have had that step missed.
Even though this car is a clean title vehicle, it has a clean Carfax, no accidents on its history report. I would imagine that the previous owner of the car maybe hit something on the highway and just paid to have it repainted, and whoever was hired to do this repainting missed this step. So, how do you fix this? I get this question a lot when servicing the Kansas City area with my Kansas City Car Detailing Services, and it’s very simple.
You begin by wet sanding with the highest grit possible to make sure you don’t include a lot of extra work. If the highest grit that you’re using doesn’t touch it, then you go down a grit, and then you go down a grit, until you find whatever grit sandpaper cuts through the imperfections. Now, in this instance, this area of this car had to be wet sanded all the way down to 1,500 grit, so I had to wet sand it with 1,500 grit sandpaper, and then I had to work my way back up with 2,000 grit sandpaper, and then I had to work my way up again with 3,000 grit sandpaper, and as soon as I was done with that 3,000 grit sandpaper, I hit it with 5,000 grit sandpaper, all of which were done in a back-to-back motion.
This ensures that after you finish the paint with compound and polish, there’s no inconsistencies in the sanding work. You never want to wet sand a car up and down, and then left to right. It’ll be very obvious that the car has been wet sanded, because cross hatching can cause it to look like someone played tic-tac-toe on your paint, because you have sanding marks going up and down, and then you have sanding marks going left and right.
Once you’re done wet sanding it with 5,000 grit sandpaper, you then have to re-wash the entire vehicle. You do this because while wet sanding, you’re sanding off a large amount of clear coat, which is actually gritty and hard, and if you try to compound it after wet sanding, and it gets caught in your pad, it can cause micro marring, it can cause swirling, and it can cause the clear coat to bunch up, and then you can’t get it off. It’s permanently on.
This is something that when I’m performing my Kansas City car detailing services, I see very regularly. Someone improperly wet sanding the paint before finishing it. Finally, once you’re done washing the car, which by the way, you want to hand wash it, you can’t just pressure wash it off, you actually want to do a proper two-bucket method hand wash, you’ll then want to begin compounding the paint.
But first, before you begin compounding the paint, you’re going to want to properly dry the vehicle off. You’ll start by using any sort of blow dryer. I use a leaf blower actually, an electric leaf blower, and I blow out all of the cracks and crevices and as much excess water as I can.
You’ll then begin drying the paint off with a microfiber chamois or a large towel, and then you can begin compounding. Now, when you compound wet sanded paint, the number one thing you have to focus on is creating enough heat to create as much gloss as possible without burning it, because you got to realize you just wet sanded an entire section, and clear coat is not unlimited. You only have so much clear coat you can work with.
Lastly, you’ll want to put the compound on your pad, six dots per pad, and you’ll begin working a section with a 50-50 overlap pattern, changing the speed between 3,000 and 5,000, finding whichever method can properly give you the amount of gloss that you’re looking for. Bear in mind, all paint is different. You’ll then wipe the compound off of the worked section, and then you’ll begin the polishing stage.
The polishing stage should be done at a much slower speed, and you’ll really… You don’t want
to use too much heat when polishing the paint, as it’ll create a dull finish, and you won’t be able to get as much gloss and achieve as much metallic flake in the paint as desired. Now guys, this is just one of the many Kansas City car detailing services that we offer. We offer orange peel removal, we offer full paint correction to remove any scratches from the factory, and my favorite service to perform of all is orange peel removal, because it’s extremely noticeable, and it’ll make a brand new paint job look like a literal brand new paint job.
If you’re looking to have any of our Kansas City car detailing services performed, you can give me a call at 620-282-0402, or you can go online to BespokeRefinement.com. We have many photos in our photo gallery of all of the cars that have received our Kansas City car detailing services, and lastly, if you have any other Kansas City car detailing services that you’re interested in looking at having done, you can email me at BespokeRefinement.com.